Tuesday, September 23, 2014

Roll and tip

The grey epoxy primer has cured for almost a month.  Decided to break out the Interthane 990, 2 part urethane , high gloss white topcoat.  Rolled only 2 coats, but it looked crappy.  I went to a Sherwin Williams automotive paint store, where the body shop guys go, and got a professional sanding block and 1200 grit Wet or Dry 3m sandpaper and was all set to start sanding and then polish  and buff.

But, I called a buddy up yesterday, who strongly advised that instead of sanding, that I repaint.  So, I put a fresh sheet of 100 grit on my random orbital sander and took off all the drips, runs, orange peel and all the high spots.  Wiped it down and then put a new coat on with a 4 inch yellow foam roller, but only about a foot at a time, while immediately following up with a foam paint brush (I think this is called tipping)  Any bubbles are popped and smoothed down.

The picture above really shows the nice reflective shine


 Unfortunately, I previously was pretty happy with the grey primer and thought that I would stick with grey, but epoxy primer has a tendency to be chalky after a while, plus it was kind of soft, in that it would show fingernail scratches, so I had to paint.  But , the starboard brand of UV stable plastic that the rudder cheeks are made of are grey ( I could have ordered white, but didn't).  So, for now, I have a white, high gloss boat and grey rudder checks.

Tuesday, August 26, 2014

Crossbeam connections.....Part 2

 Rear crossbeam connection bolts.  They seem VERY strong.
Front connection bolts.


Inside nuts with washers


The long view....All 4 in one shot...


Notice the use of this measuring board.  IT assures that everything is 7 foot apart, was used on both sides and will be used on the amas to assure correct placement.

Leeboard test

 The video may be jumpy but I think it shows how cool the leeboard is , especially at the end of the video. Notice how I can bump adjust the leeboard and it stays right where I want it to. Great design.  This video is not showing up in my Google Chrome but does show up and work using Firefox. Not sure about Explorer.

Here is the friction washer Frank came up with.  What a great designer he is.

Have a look at his article entitled " Why I LOVE Leeboards"
http://www.diy-tris.com/2012/articles/1-leeboards-why.htm


Cross beam connections


 2 1x7 pine cut square, and turned 90 degrees for strength and glued
 Bolt and washer countersunk.  Not glued in yet, but soon. These get glued to the ama deck
 These are the crossbeam connections at the main hull
 Plenty of room for the tubes to fit on the bolts
Nice and flush.

Test fit of mast bottom

 I am going to have to go to home depot and get another set of these. I couldn't get them to screw together all the way.  I had to go to 2 pieces because this 2 1/2 off cut is actually .125 wall thickness, which makes the inner diameter just a little too small for the threaded cap called for ,but this will work too
The set screw is just temporary till I pop rivet it in.  This will rest in the mast step on top of Tivar  UHMW-PE heavy duty plastic.

Painting the inside of the boat


Very front of boat


2 part epoxy paint.  Feels real slick on the inside.  I would think there would never be any delamination in the boat now.

Friday, August 22, 2014

Leeboard installation


A test fitting of the leeboard.  Still have to go to Ace Hardware and get the correct size bolt and both the rudder and leeboard need painting


Here, if you look closely, you can see the friction washer, white colored, that is between the hull and the leeboard


Here is a closeup of the 1/2 inch plywood washer and the fender washer.


Thursday, August 21, 2014

Rudder installation


The rudder cheeks, made from Starboard...Marine grade high density polyethyleyne, plus the added wood, that will get the steering lines attached.


Transom, before drilling


Transom with Gudgeons attached


Test fitting the rudder cheeks


First fit with rudder


Rudder, still needs paint and steering lines


Saturday, August 16, 2014

Epoxy Paint


This stuff sure is smelly.   Even 100% outdoors, I had to go grab my respirator, the best I could buy at home depot. I can see now why one would want a forced air respirator.  The stuff is thick. used one of those paddle mixers on the 5 gallon bucket of part A, till it was mixed well.
Then, since I use a digital scale for all my epoxy mixing anyway, I zeroed out a scrap bucket that I intended to use for mixing and poured in 1000 grams, and since it is a 4 to one mix, then in a separate big cup, measured out 250 grams, then poured that into the bucket containing part A, and mixed for about 3 minutes, using a big paint stir stick, using all techniques I have learned off of youtube.
Then using the yellow foam rollers from harbor freight, started on the sides of the boat.  Very thick stuff.  Horizontal strokes, followed by more epoxy paint vertically.  Getting to the bilge panels and the bottom, since the boat is upside down on saw horses, put the bilge panels and bottom inches from my face.  Used my left gloved hand to press the respirator onto my face for a better seal.  The temp is 90 something degrees Fahrenheit, so this stuff was kicking quickly. I ended using 4 foam rollers for a 16 ft boat.
Sealed up the cans and ran inside, while this thing off gases major VOC's.  STINKY !!!  Pretty self leveling though. 


One coat...Self leveling.  Said to be dry to the touch after 2 hours but it is very hot here, 94 degrees F, so it was kicking quick.  The wife came home just after I was done, and complained that the whole house smelled like this stuff inside, and we have a split air conditioning system, so only freon moves from the air handler to the outside unit. Perhaps my house is not as air tight as I thought.


Friday, August 8, 2014

Mast Material research

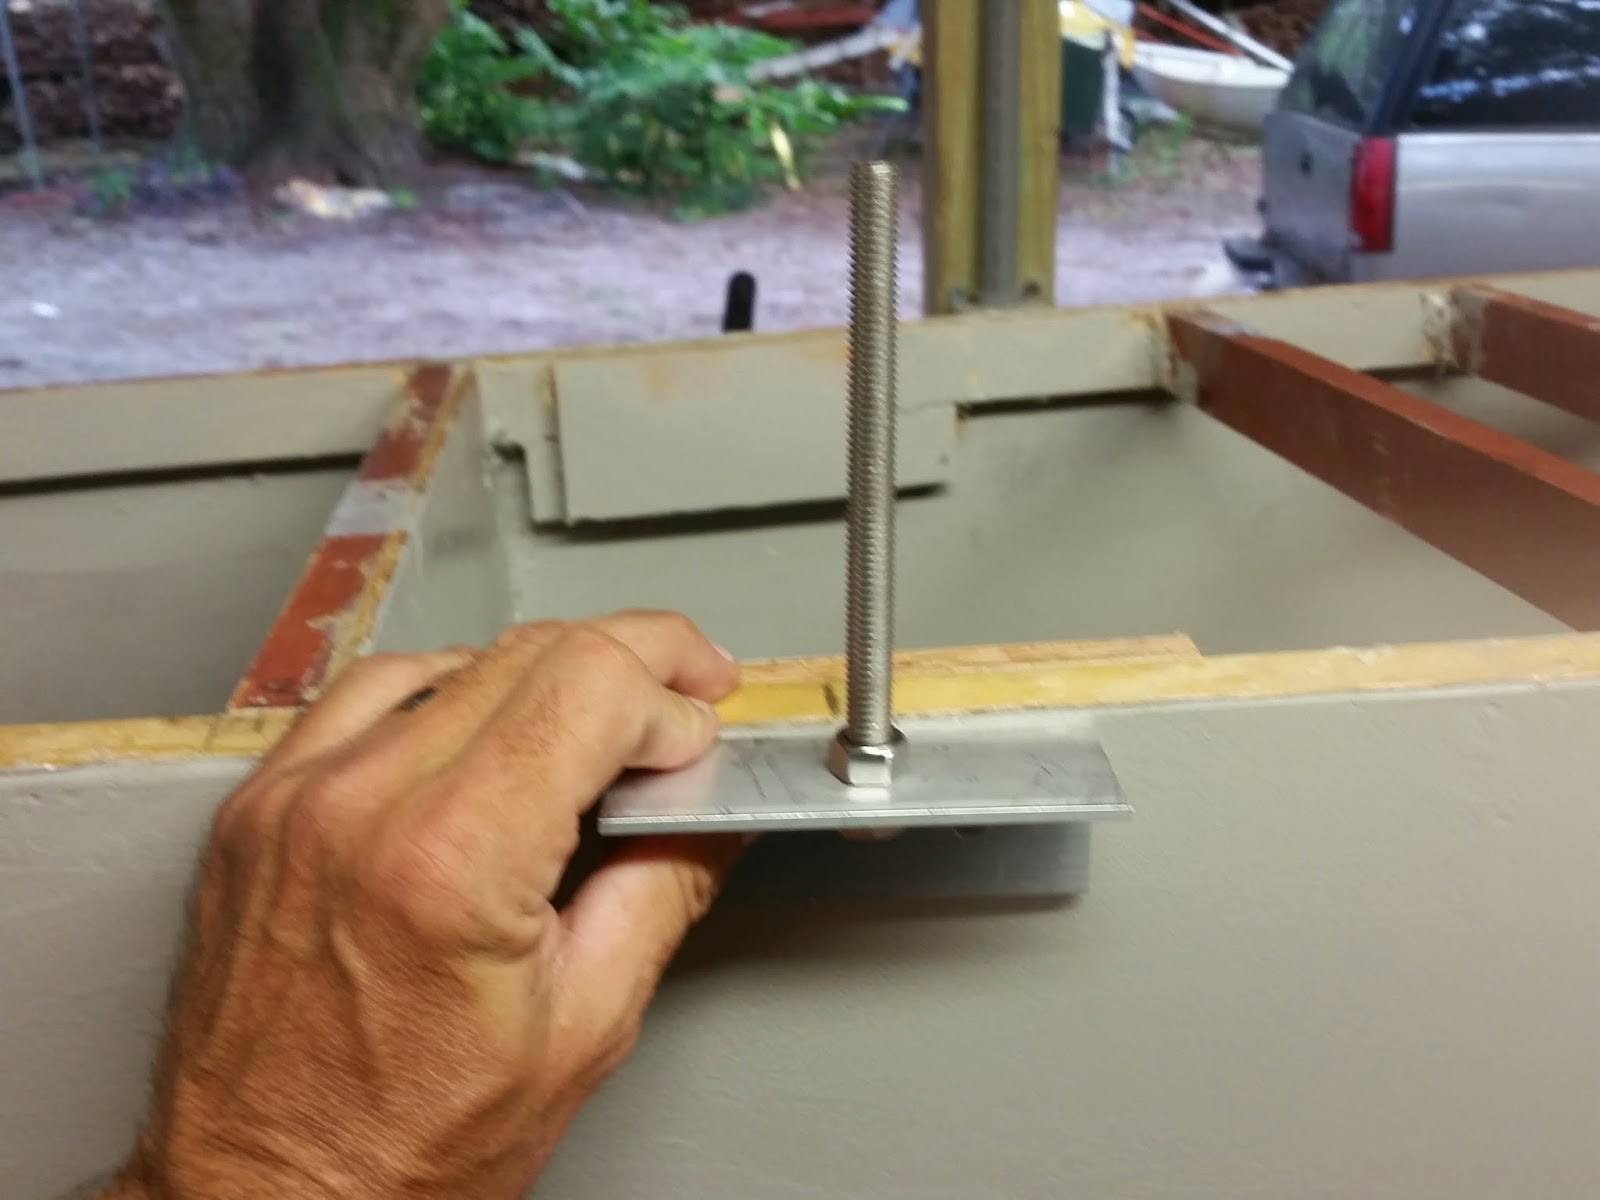
What you see here is three 12 ft sections of 6061 T6 Aluminum tubing with a .083 wall thickness. Alro metals down in South Florida did not have the 2 1/2 inch tubing in stock, so I had these drop shipped to a buddy who has a sign shop near me. He orders alot of aluminum for signs anyway.

Yesterday, I went to his shop to pick them up.  While there, right next to my order, was a brand new 20 ft flagpole.  3 inch base, thing of beauty, tapers as it goes up.   The designers plans call for a 3 inch 12 footer and a 2 1/2 12 footer, inserted, shimmed and pop riveted.  My buddy says to me " I think your going to have alot of stress where the 2 tubes overlap. I think you should just order a flagpole or, order a 24 foot tube of 3 inch 6061 T6.


So, I go inside his shop and call the flagpole manufacturer.  They call back to say the flagpole is made of 6063 aluminum.  I do a google search for 6061 vs 6063, and right quick I land on a forum for race car builders, where one asks about 6061 vs 6063.  Everyone agrees 6063 is weaker. So, I kind of nix that idea. But, still, I kind of like the idea of a 24 ft piece of 6061, in either 3 inch or 2 1/2. If using the 2 1/2, go up to a wall thickness of .125 (1/8 inch)

Now, head all mixed up, I make a call to a buddy's younger brother, who graduated from Michigan state with a degree in Metallurgy ( applied engineering)  So, this guy knows metal.   I explain everything.  He says he will call.  I go to the office, as work seems to be interfering with the boat build. Plus the epoxy is drying anyway.

Around 5 30 pm. He calls.  He calls, and he's up at the bar, just down the street, with his brother, says, come on down.  I go to the bar, and he explains that he did some research on the matter and even went to a forum for engineers that had a section for mast building.  He shows me some print outs showing that 6061 has an ultimate tensile strenght of 45,000 psi while the 6063 has an ultimate tensile strength of 35,000.  6063 is used for architectural and building products and is optimized for corrosion resistance, while 6061 is optimized for strength.  6061 has an ulitmate bearing strength of 88,000 psi and is some tough stuff.


He said the engineering forum stated that if the 6063 had a wall thickenss of .125, it could then be used, but that the 6061 at a wall thickenss of .083 is still superior, but that the flagpole could be used, assuming a wall thickeness of .125.

The sail plan I am using is an unstayed mast, so there is not alot of compression of the tubing, more like bending pressure.  And, as the sail gets smaller as your approach the top of the sail, that bending pressure is less, presumably why the designer reduces tube size to 2 1/2 inch.  In fact, perhaps that is done so that the mast does bend, in order to spill wind.  So, maybe the 24 foot tube of all 3 inch would be worse than a 3 inch joined to a 2 1/2.

By the way, each of the 3 twelve foot tubes weighs almost exactly 10 lbs, so a 24 ft mast should weigh less than 20 lbs assuming that I join a 2 1/2 section for the top of the mast.

The crossbeams on the main hull will be the 6061 12 footers, for sure.

Filling the weave

Quite a bit of the weave was showing, even though, after the initial wetting of the fiberglass, I waited about an hour and a half, till it was kind of dry and came back and added a second coat. By the next morning, there were no dry or starved cloth places, but the weave certainly needed filling.  I went and got some of the west system 710, listed on their chart as easiest to sand.  Then, using the reflection from the lights, squeegeed on a thickened mixture of epoxy and microballons.  Above is what it looks like now.

Yes, I know it looks bad, but I assume that since it is 710, it should sand off for a nice finish.  Certainly I now see the waxy residue that everyone talks about needed to be scrubbed off. The wax shows itself upon running a fingernail over the surface.


Glassing the rudder and leeboard

Both sides are now glassed.  Have to trim the excess,wet and seal the edges and fill the weave.

Wednesday, August 6, 2014

Glassing the hull


First try at draping the fabric


Side @


I know you are probably saying right here "Damn ... what a nice looking boat", I would not disagree


First coat of epoxy done.  White spots are bondo.


 Weave seemed to show thru after a good first coat. Decided to wait for it to harden a little and come back with a second coat, to achieve chemical bonding while it was still forming up.  all second coat done now, hope it looks really good in the morning.


Leeboard backing plate and foot pedal steering crossbar installation


Here you see the foot pedal steering crossbar installed


Here you see the foot pedal steering installed with the foot pedals attached, pending the rudder lines installation
  Leeboard backing plate. Boat turned on it's side, so the weight presses straight down
   Leeboard backing plate showing how possibly good  fresh PL adhesive can do for fillets is you spread it before it forms a skin.