Tuesday, September 23, 2014

Roll and tip

The grey epoxy primer has cured for almost a month.  Decided to break out the Interthane 990, 2 part urethane , high gloss white topcoat.  Rolled only 2 coats, but it looked crappy.  I went to a Sherwin Williams automotive paint store, where the body shop guys go, and got a professional sanding block and 1200 grit Wet or Dry 3m sandpaper and was all set to start sanding and then polish  and buff.

But, I called a buddy up yesterday, who strongly advised that instead of sanding, that I repaint.  So, I put a fresh sheet of 100 grit on my random orbital sander and took off all the drips, runs, orange peel and all the high spots.  Wiped it down and then put a new coat on with a 4 inch yellow foam roller, but only about a foot at a time, while immediately following up with a foam paint brush (I think this is called tipping)  Any bubbles are popped and smoothed down.

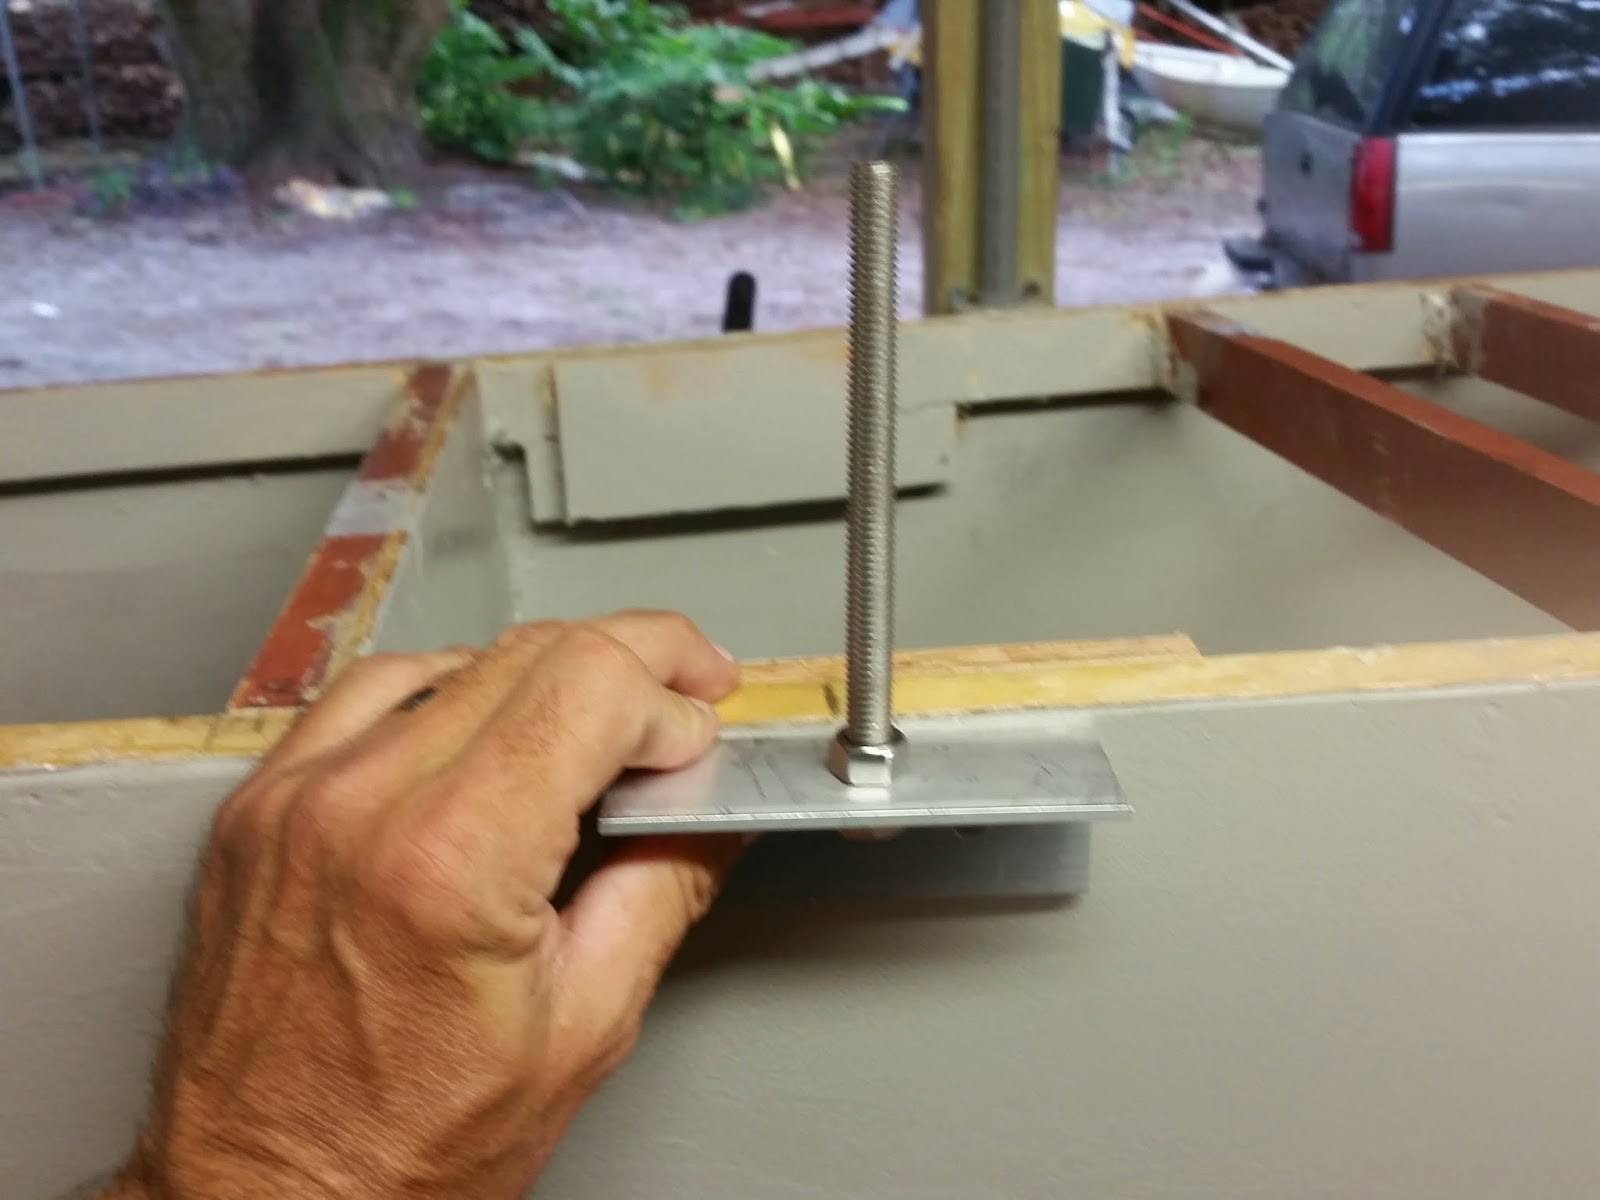
The picture above really shows the nice reflective shine


 Unfortunately, I previously was pretty happy with the grey primer and thought that I would stick with grey, but epoxy primer has a tendency to be chalky after a while, plus it was kind of soft, in that it would show fingernail scratches, so I had to paint.  But , the starboard brand of UV stable plastic that the rudder cheeks are made of are grey ( I could have ordered white, but didn't).  So, for now, I have a white, high gloss boat and grey rudder checks.

Tuesday, August 26, 2014

Crossbeam connections.....Part 2

 Rear crossbeam connection bolts.  They seem VERY strong.
Front connection bolts.


Inside nuts with washers


The long view....All 4 in one shot...


Notice the use of this measuring board.  IT assures that everything is 7 foot apart, was used on both sides and will be used on the amas to assure correct placement.

Leeboard test

 The video may be jumpy but I think it shows how cool the leeboard is , especially at the end of the video. Notice how I can bump adjust the leeboard and it stays right where I want it to. Great design.  This video is not showing up in my Google Chrome but does show up and work using Firefox. Not sure about Explorer.

Here is the friction washer Frank came up with.  What a great designer he is.

Have a look at his article entitled " Why I LOVE Leeboards"
http://www.diy-tris.com/2012/articles/1-leeboards-why.htm


Cross beam connections


 2 1x7 pine cut square, and turned 90 degrees for strength and glued
 Bolt and washer countersunk.  Not glued in yet, but soon. These get glued to the ama deck
 These are the crossbeam connections at the main hull
 Plenty of room for the tubes to fit on the bolts
Nice and flush.

Test fit of mast bottom

 I am going to have to go to home depot and get another set of these. I couldn't get them to screw together all the way.  I had to go to 2 pieces because this 2 1/2 off cut is actually .125 wall thickness, which makes the inner diameter just a little too small for the threaded cap called for ,but this will work too
The set screw is just temporary till I pop rivet it in.  This will rest in the mast step on top of Tivar  UHMW-PE heavy duty plastic.

Painting the inside of the boat


Very front of boat


2 part epoxy paint.  Feels real slick on the inside.  I would think there would never be any delamination in the boat now.

Friday, August 22, 2014

Leeboard installation


A test fitting of the leeboard.  Still have to go to Ace Hardware and get the correct size bolt and both the rudder and leeboard need painting


Here, if you look closely, you can see the friction washer, white colored, that is between the hull and the leeboard


Here is a closeup of the 1/2 inch plywood washer and the fender washer.